I so enjoyed making the football shaped cake truffles for the SuperBowl that I went a little truffle crazy… I did this over a couple of days. I took no photos except for the end result. My apologies. Next time…
On the first day, I used the same cake recipe from PCC as last time, but I had to make MORE substitutions since I didn’t want to buy more stout. My revised ingredients are below:
- 1 cup club soda
- 1 cup (2 sticks) unsalted butter
- 3/4 cup Dutch process cocoa powder
- 2 Starbucks via Italian roast packets (unsweetened)
- 1 & 3/4 cup whole wheat pastry flour
- 1/4 cup cornstarch
- 1 cup evaporated cane juice (or white sugar)
- 3/4 tsp salt
- 1 cup brown sugar
- 1 & 1/2 tsp baking soda
- 2 eggs
- 2/3 cup plain Greek yogurt
- 1 tsp vanilla extract
- 4 ounces chocolate chips
Oven temperature= 350 degrees.
Revised directions:
- Heat the club soda and butter over medium heat until butter is melted. Add the cocoa powder and the instant coffee and whisk util smooth. Remove from heat and let cool slightly.
- Sift together flour, cornstarch, baking soda and salt. Add the sugars and blend well.
- In another bowl, beat eggs with yogurt and vanilla until smooth. Add butter mixture and stir until combined, then add flour mixture in thirds. Stir until just combined. Stir in chocolate chips.
Pour into 10×13 inch pan and bake approximately 30 minutes or until done.
Note: This batter is extremely tasty when raw. I know you aren’t supposed to eat raw batter because of the eggs, but I’m always afraid I forgot something so I ALWAYS taste…and this one I taste a little more…and lick the beaters and spatula the bowl CLEAN.
Let the cake cool completely.
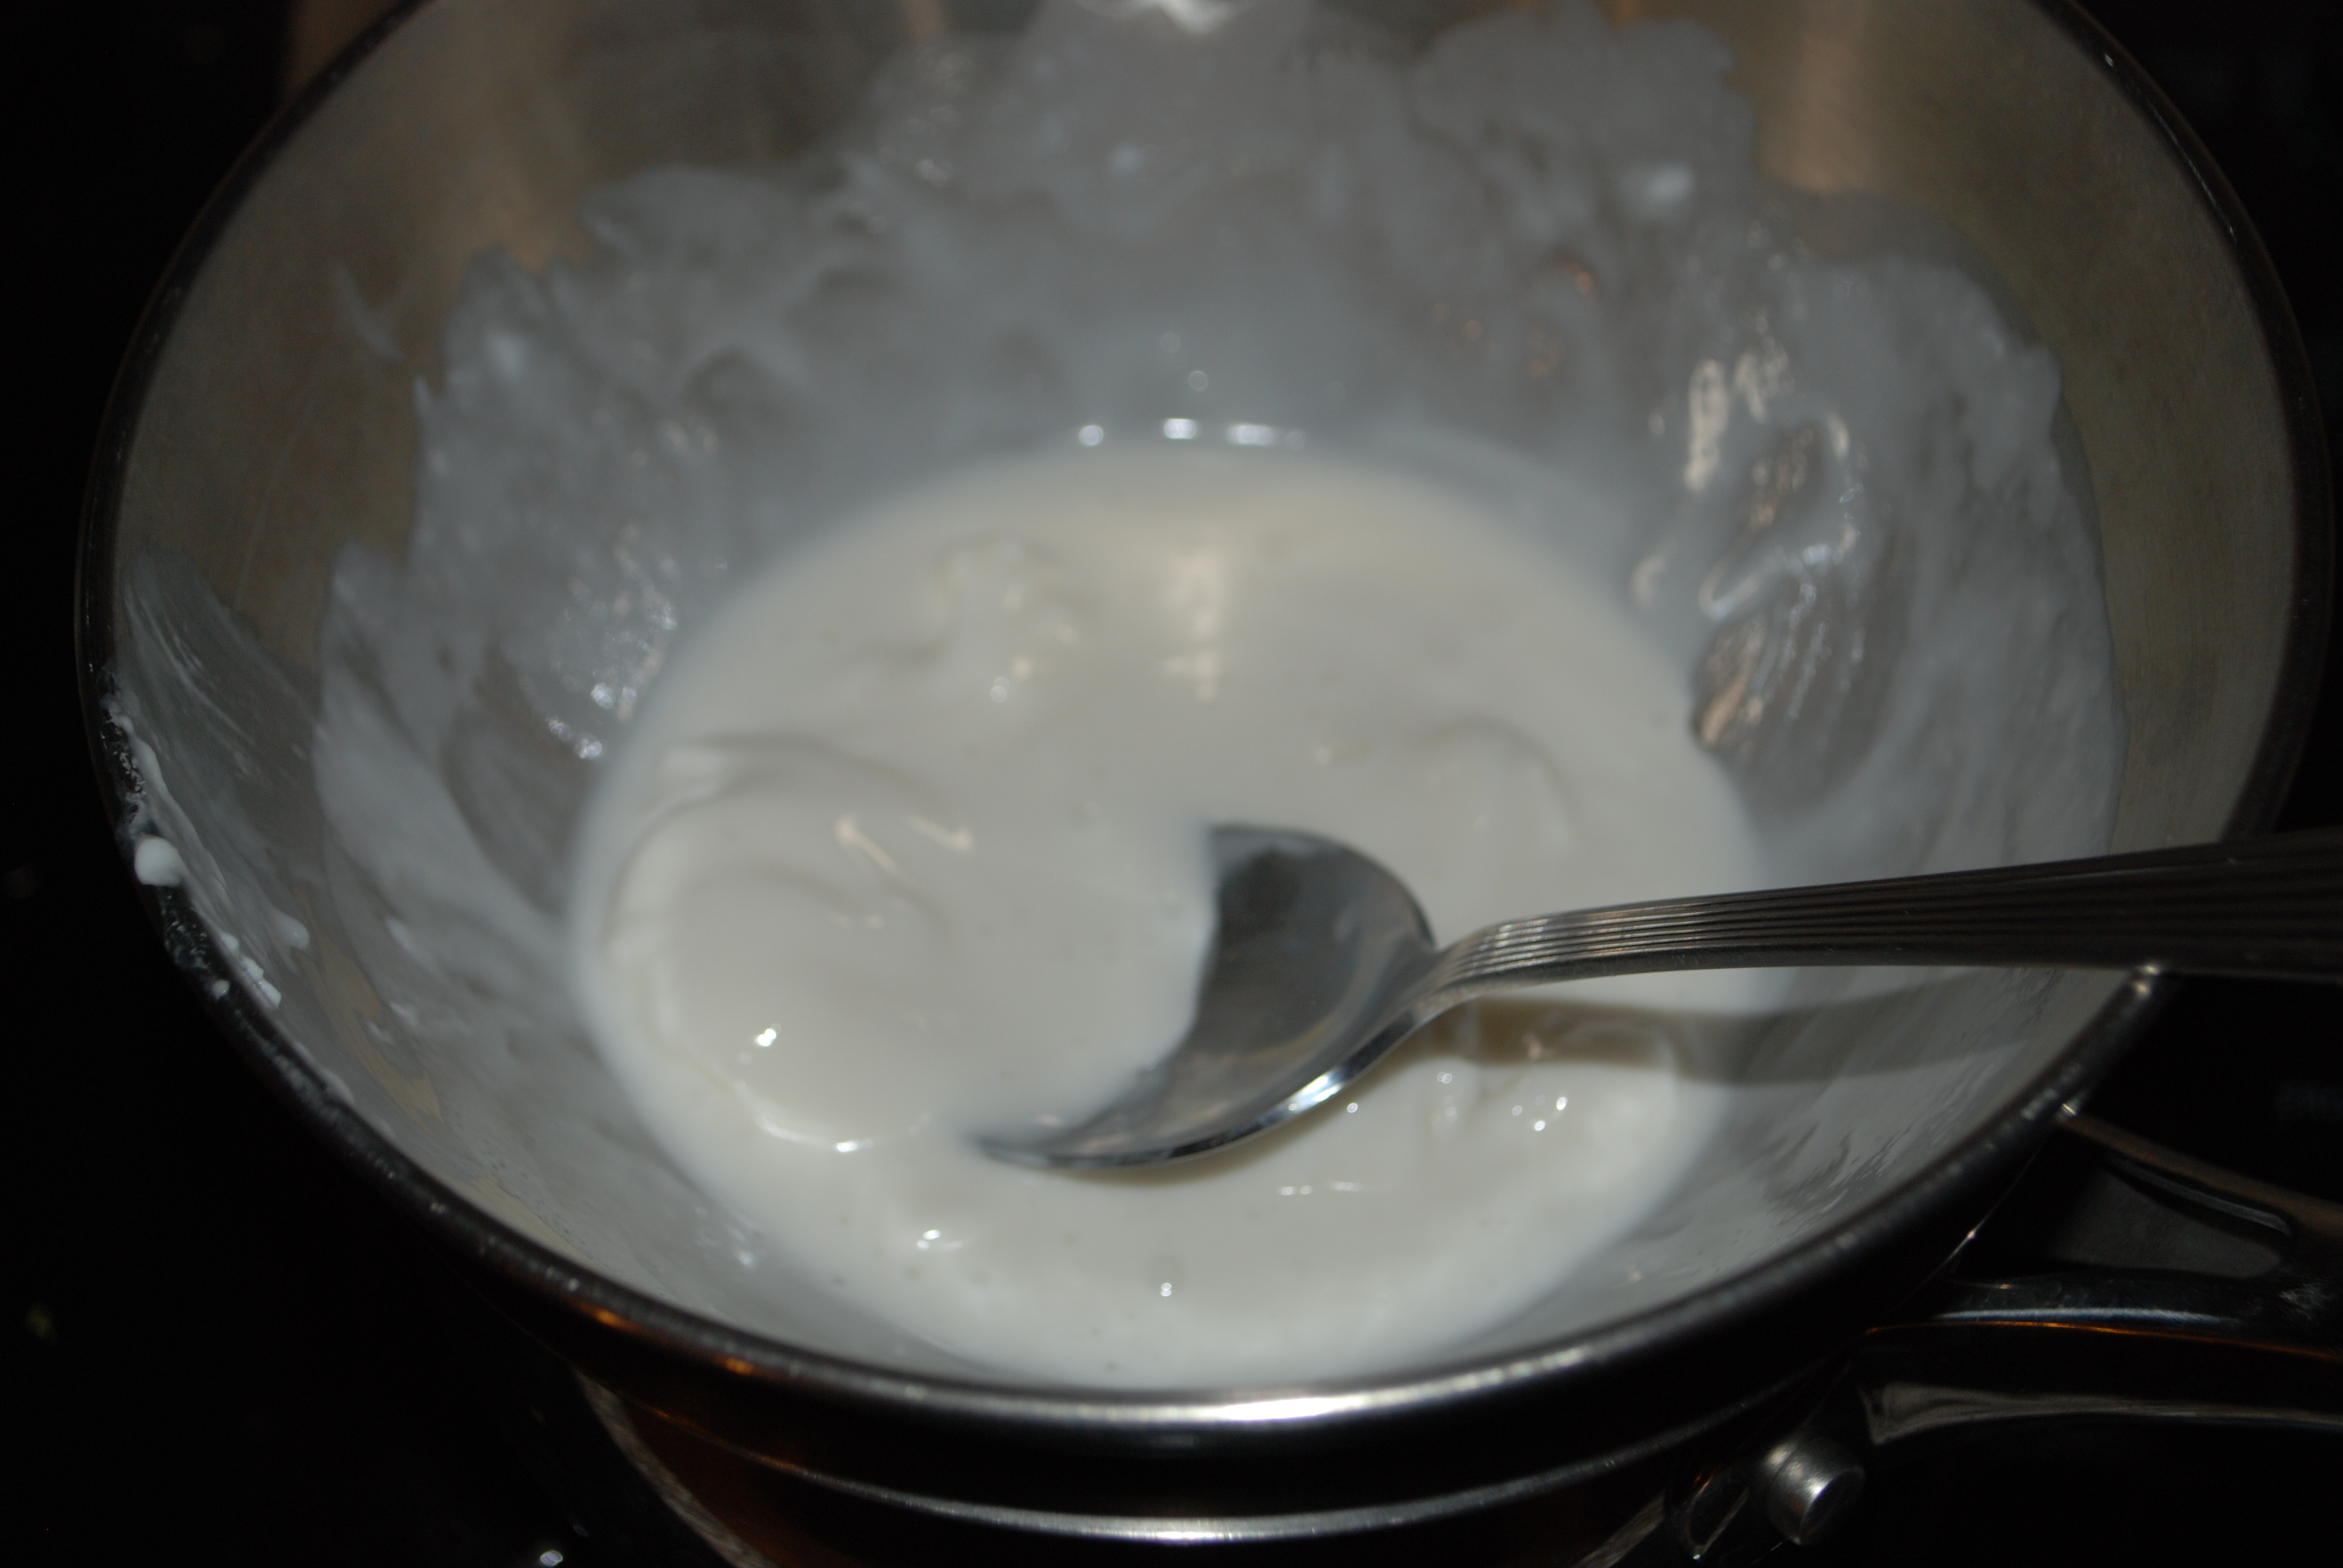
Day 2: I had some opened cream cheese and mascarpone left over from the football cupcakes, so I made some more of the whipped cream cheese icing using the following ingredients:
- 4 ounces (ish) mascarpone cheese
- 1/2 block cream cheese
- 1/3 cup powdered evaporated cane juice (or white sugar)
Whip cheeses together until smooth, then add powdered sugar and beat until smooth and fluffy.
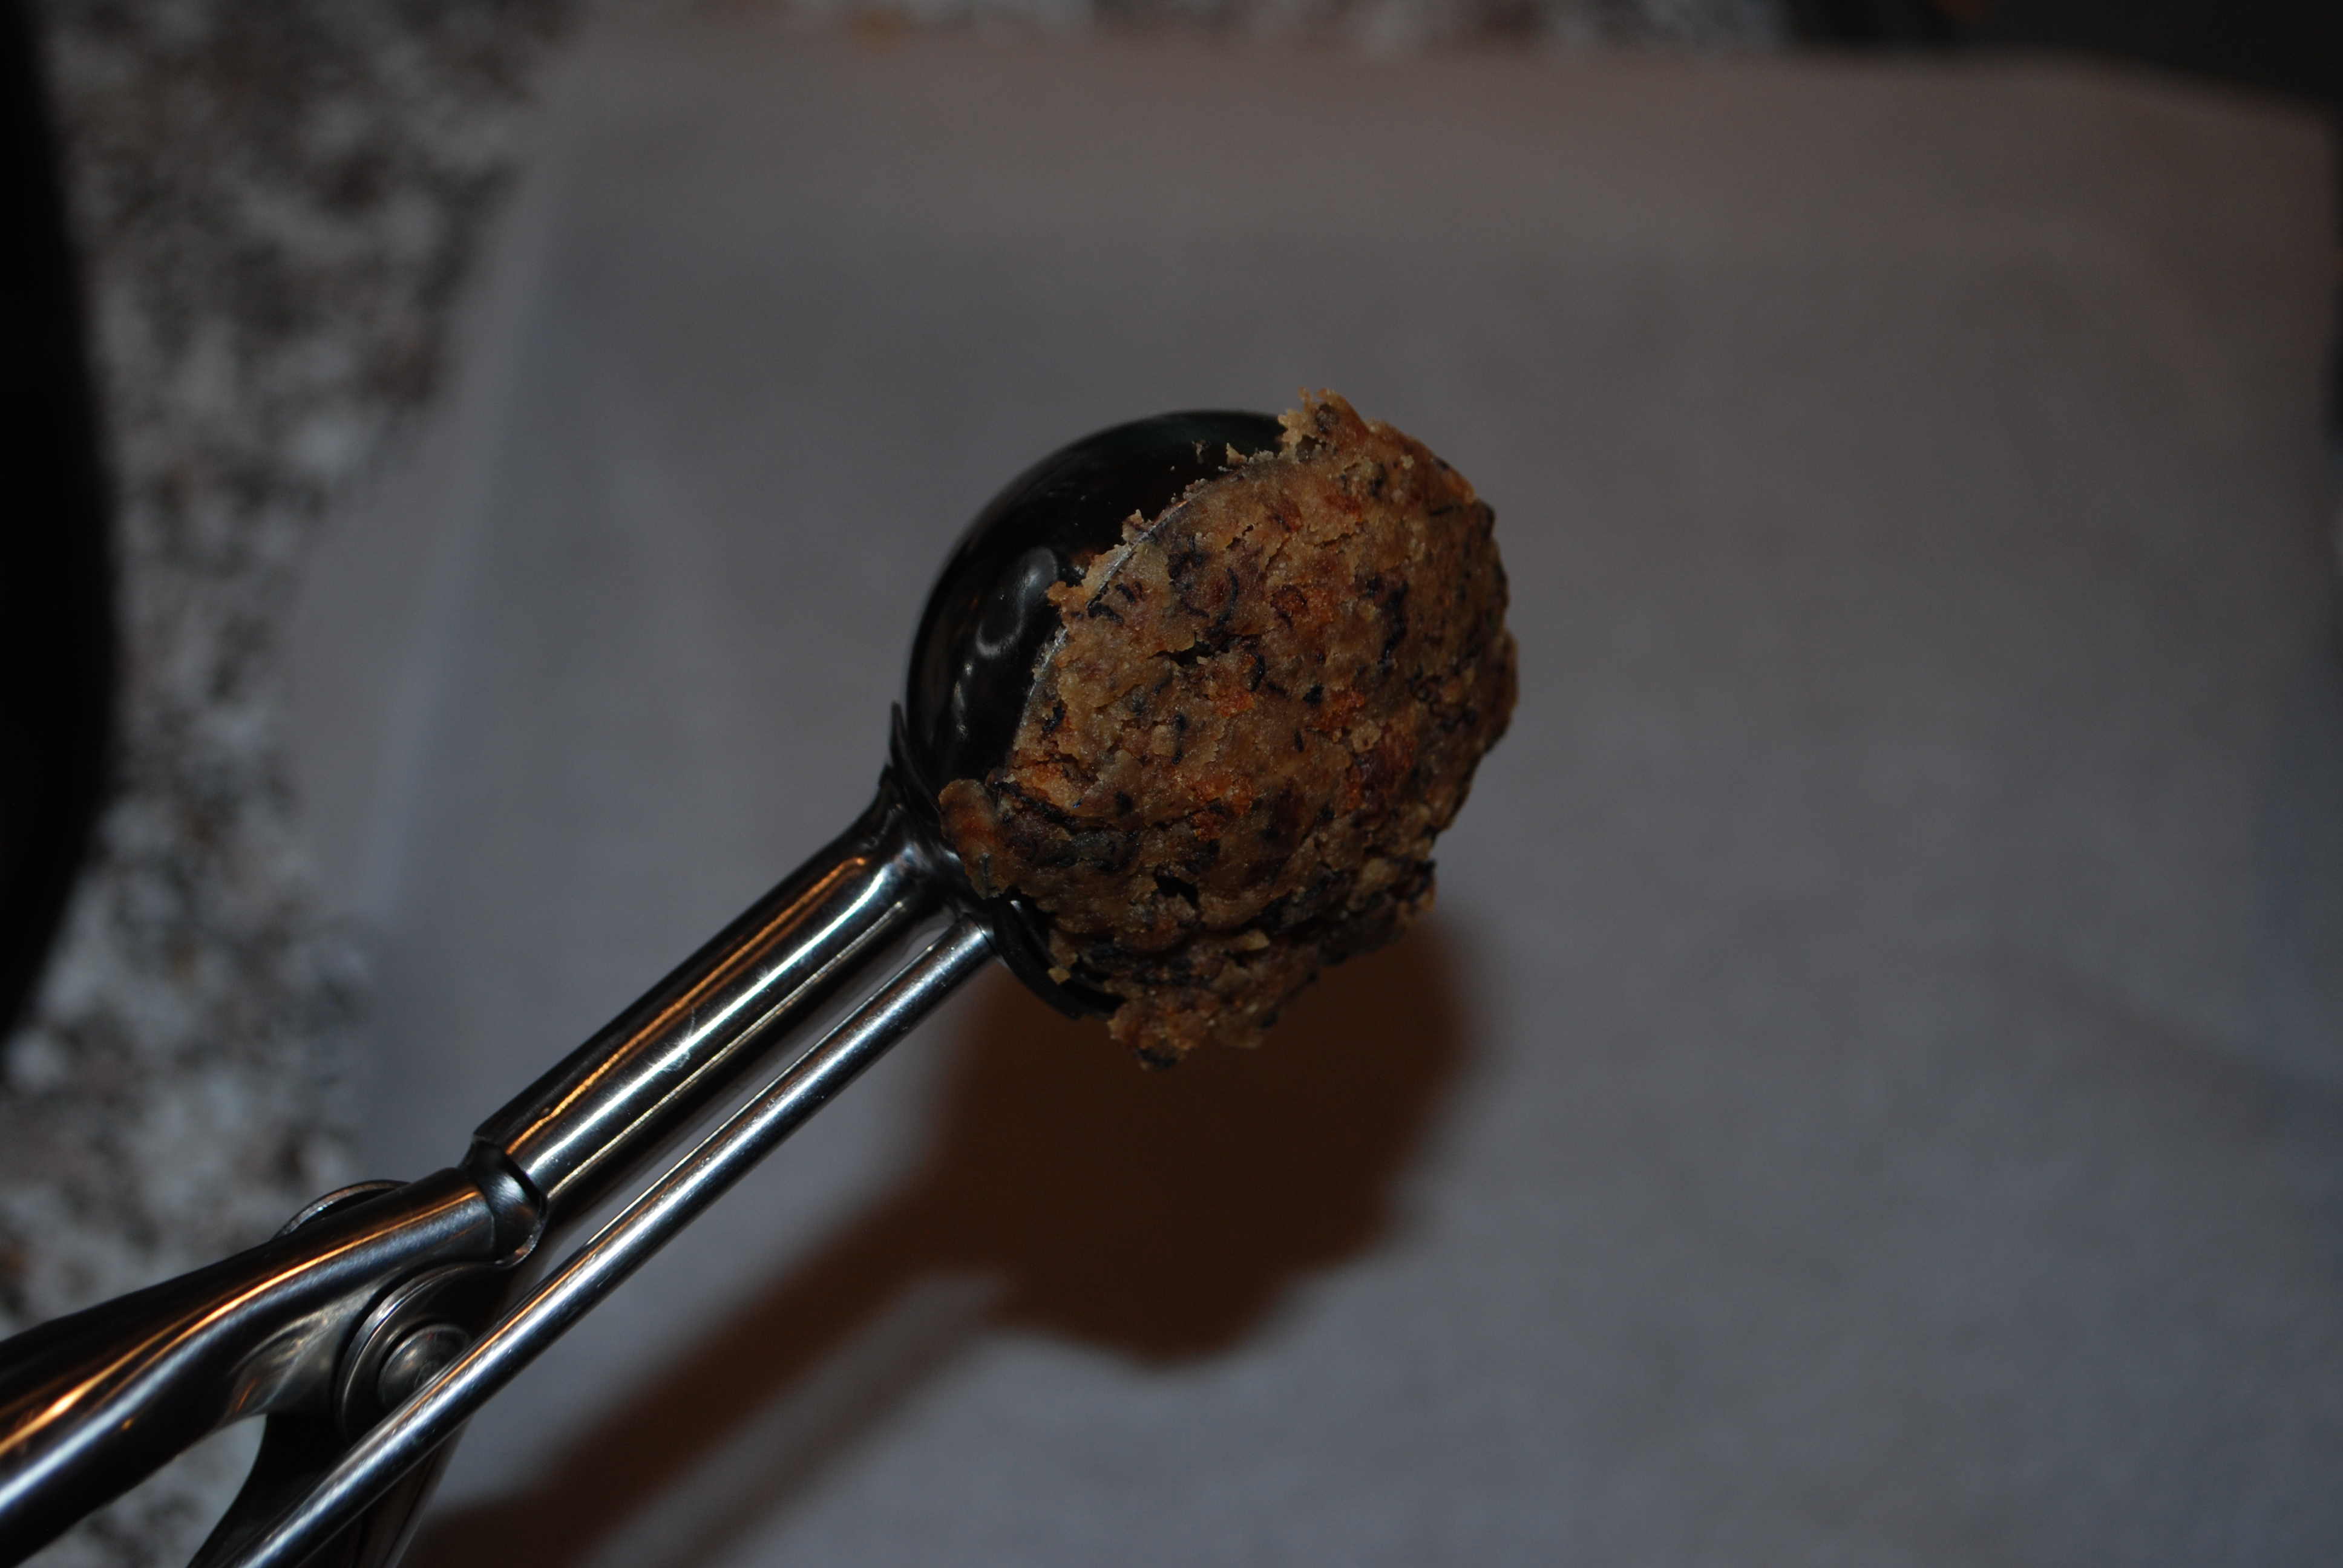
I wanted to make sure the truffles were truly truffles so I made a little more ganache, using a little less cream than usual since I was adding the cream cheese frosting. I probably used 2 & 1/2 ounces of cream with 8 ounces of chocolate. I combined this with the cream cheese icing while the ganache was a little over room temperature. I mixed this into crumbled cake made yesterday. I used a 1 ounce portion scoop to measure out uniformly sized quantities of cake mixture and rolled them into balls with gloved hands. They went into the freezer on a Silpat covered cookie sheet until the next day…
Day 3: I had about 1/2 of a pack of Candiquik left over from last time. (Clean up on this is really easy…put a lid on the bowl and put it in the cabinet. It can be remelted later.) I added some dark chocolate chips to this and melted it together. I started off pulling out the leftover coconut from the pantry to dip these in. I also had some toasted chopped pecans on hand. Mr Shuck got into the fun and pulled out wasabi powder and a jar of PB2 (powdered peanut butter)

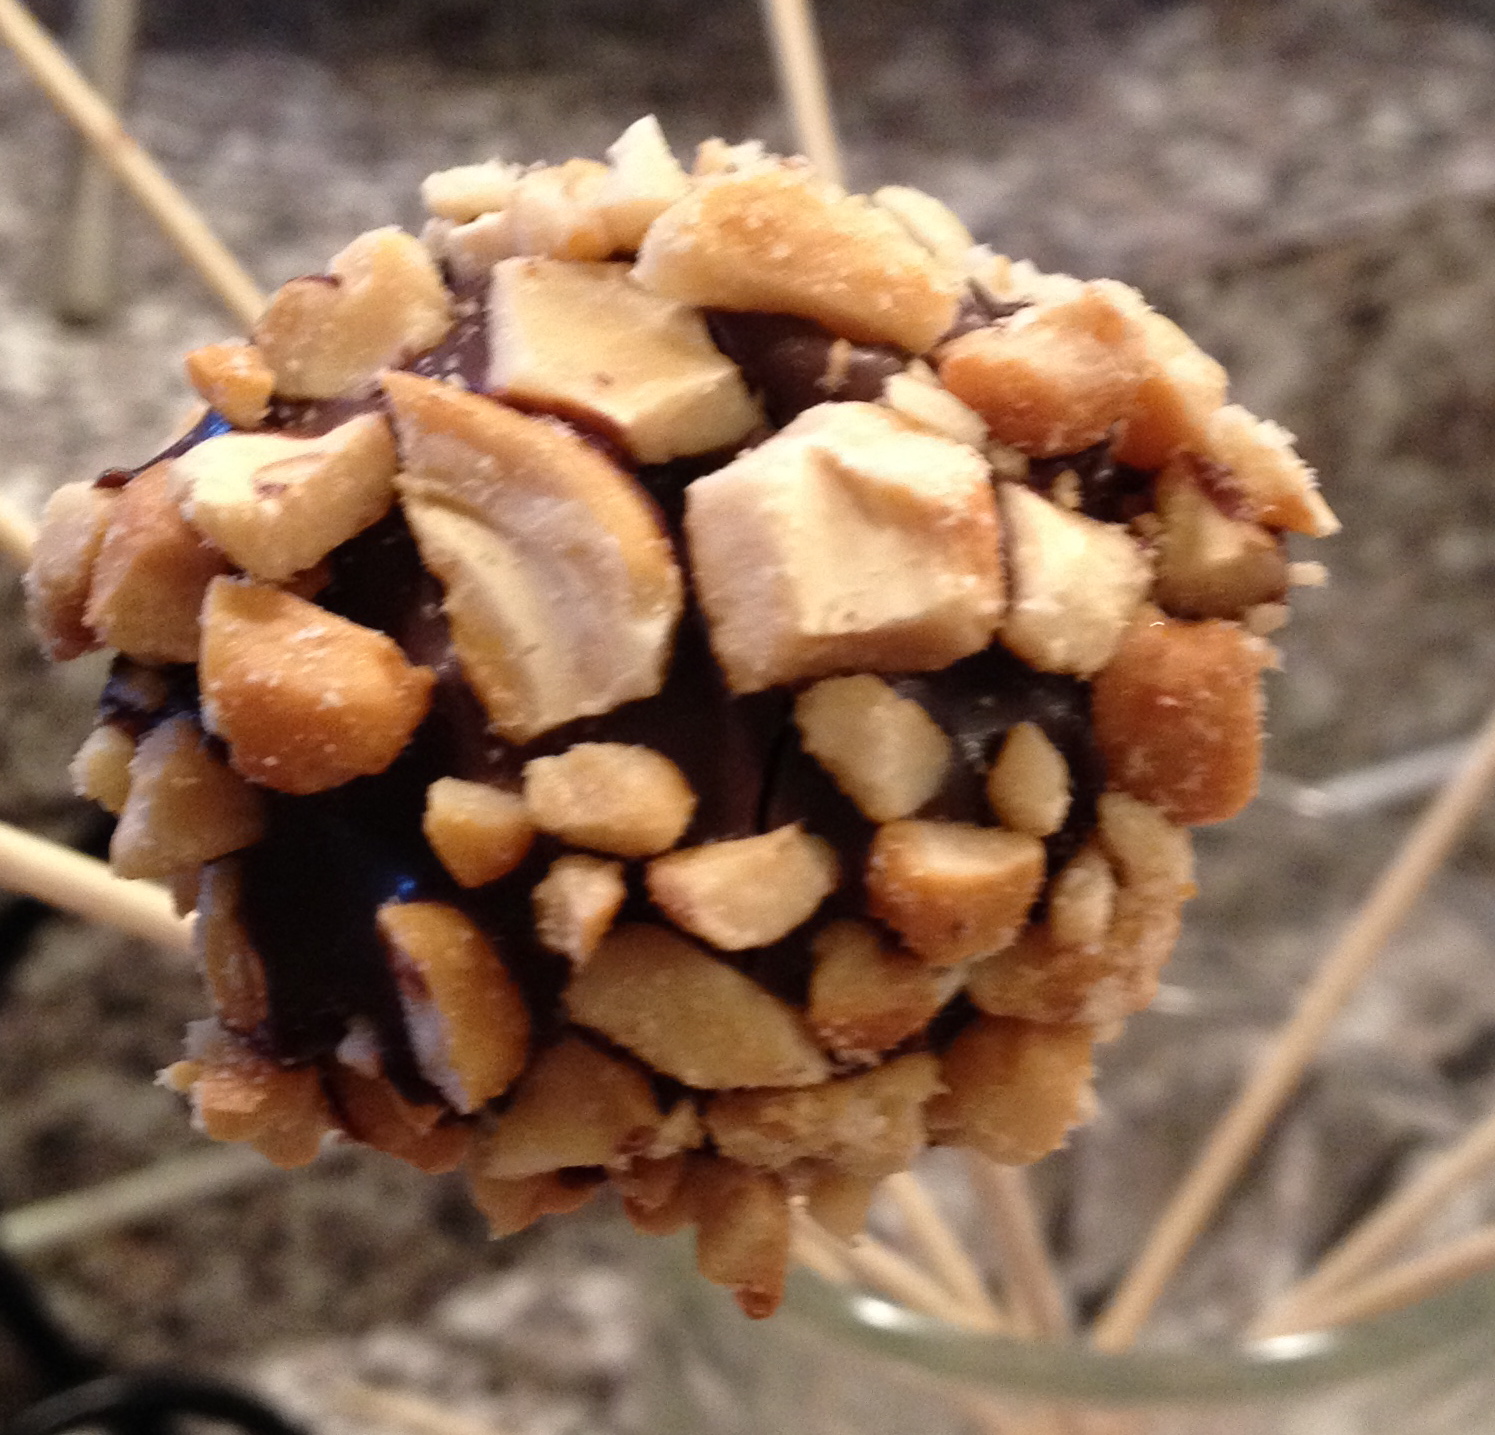
I skewered each truffle ball, dipped it into the melted chocolate and then either dipped into the garnishes or sprinkled on the garnishes while the chocolate was still melted. I had to work fairly quickly to get the balls coated while the candy was still wet. I set the skewers in a glass until the chocolate was solid. I only have 4 skewers, so while each batch solidified, Mr Shuck and I would scour the cabinets for something different to try. When solid, I put them onto a cooling rack. When I ran out of chocolate, I melted down the rest of the bag of Vanilla Candy Melts. When I ran out of that, I put the truffle balls back into the freezer for another day…
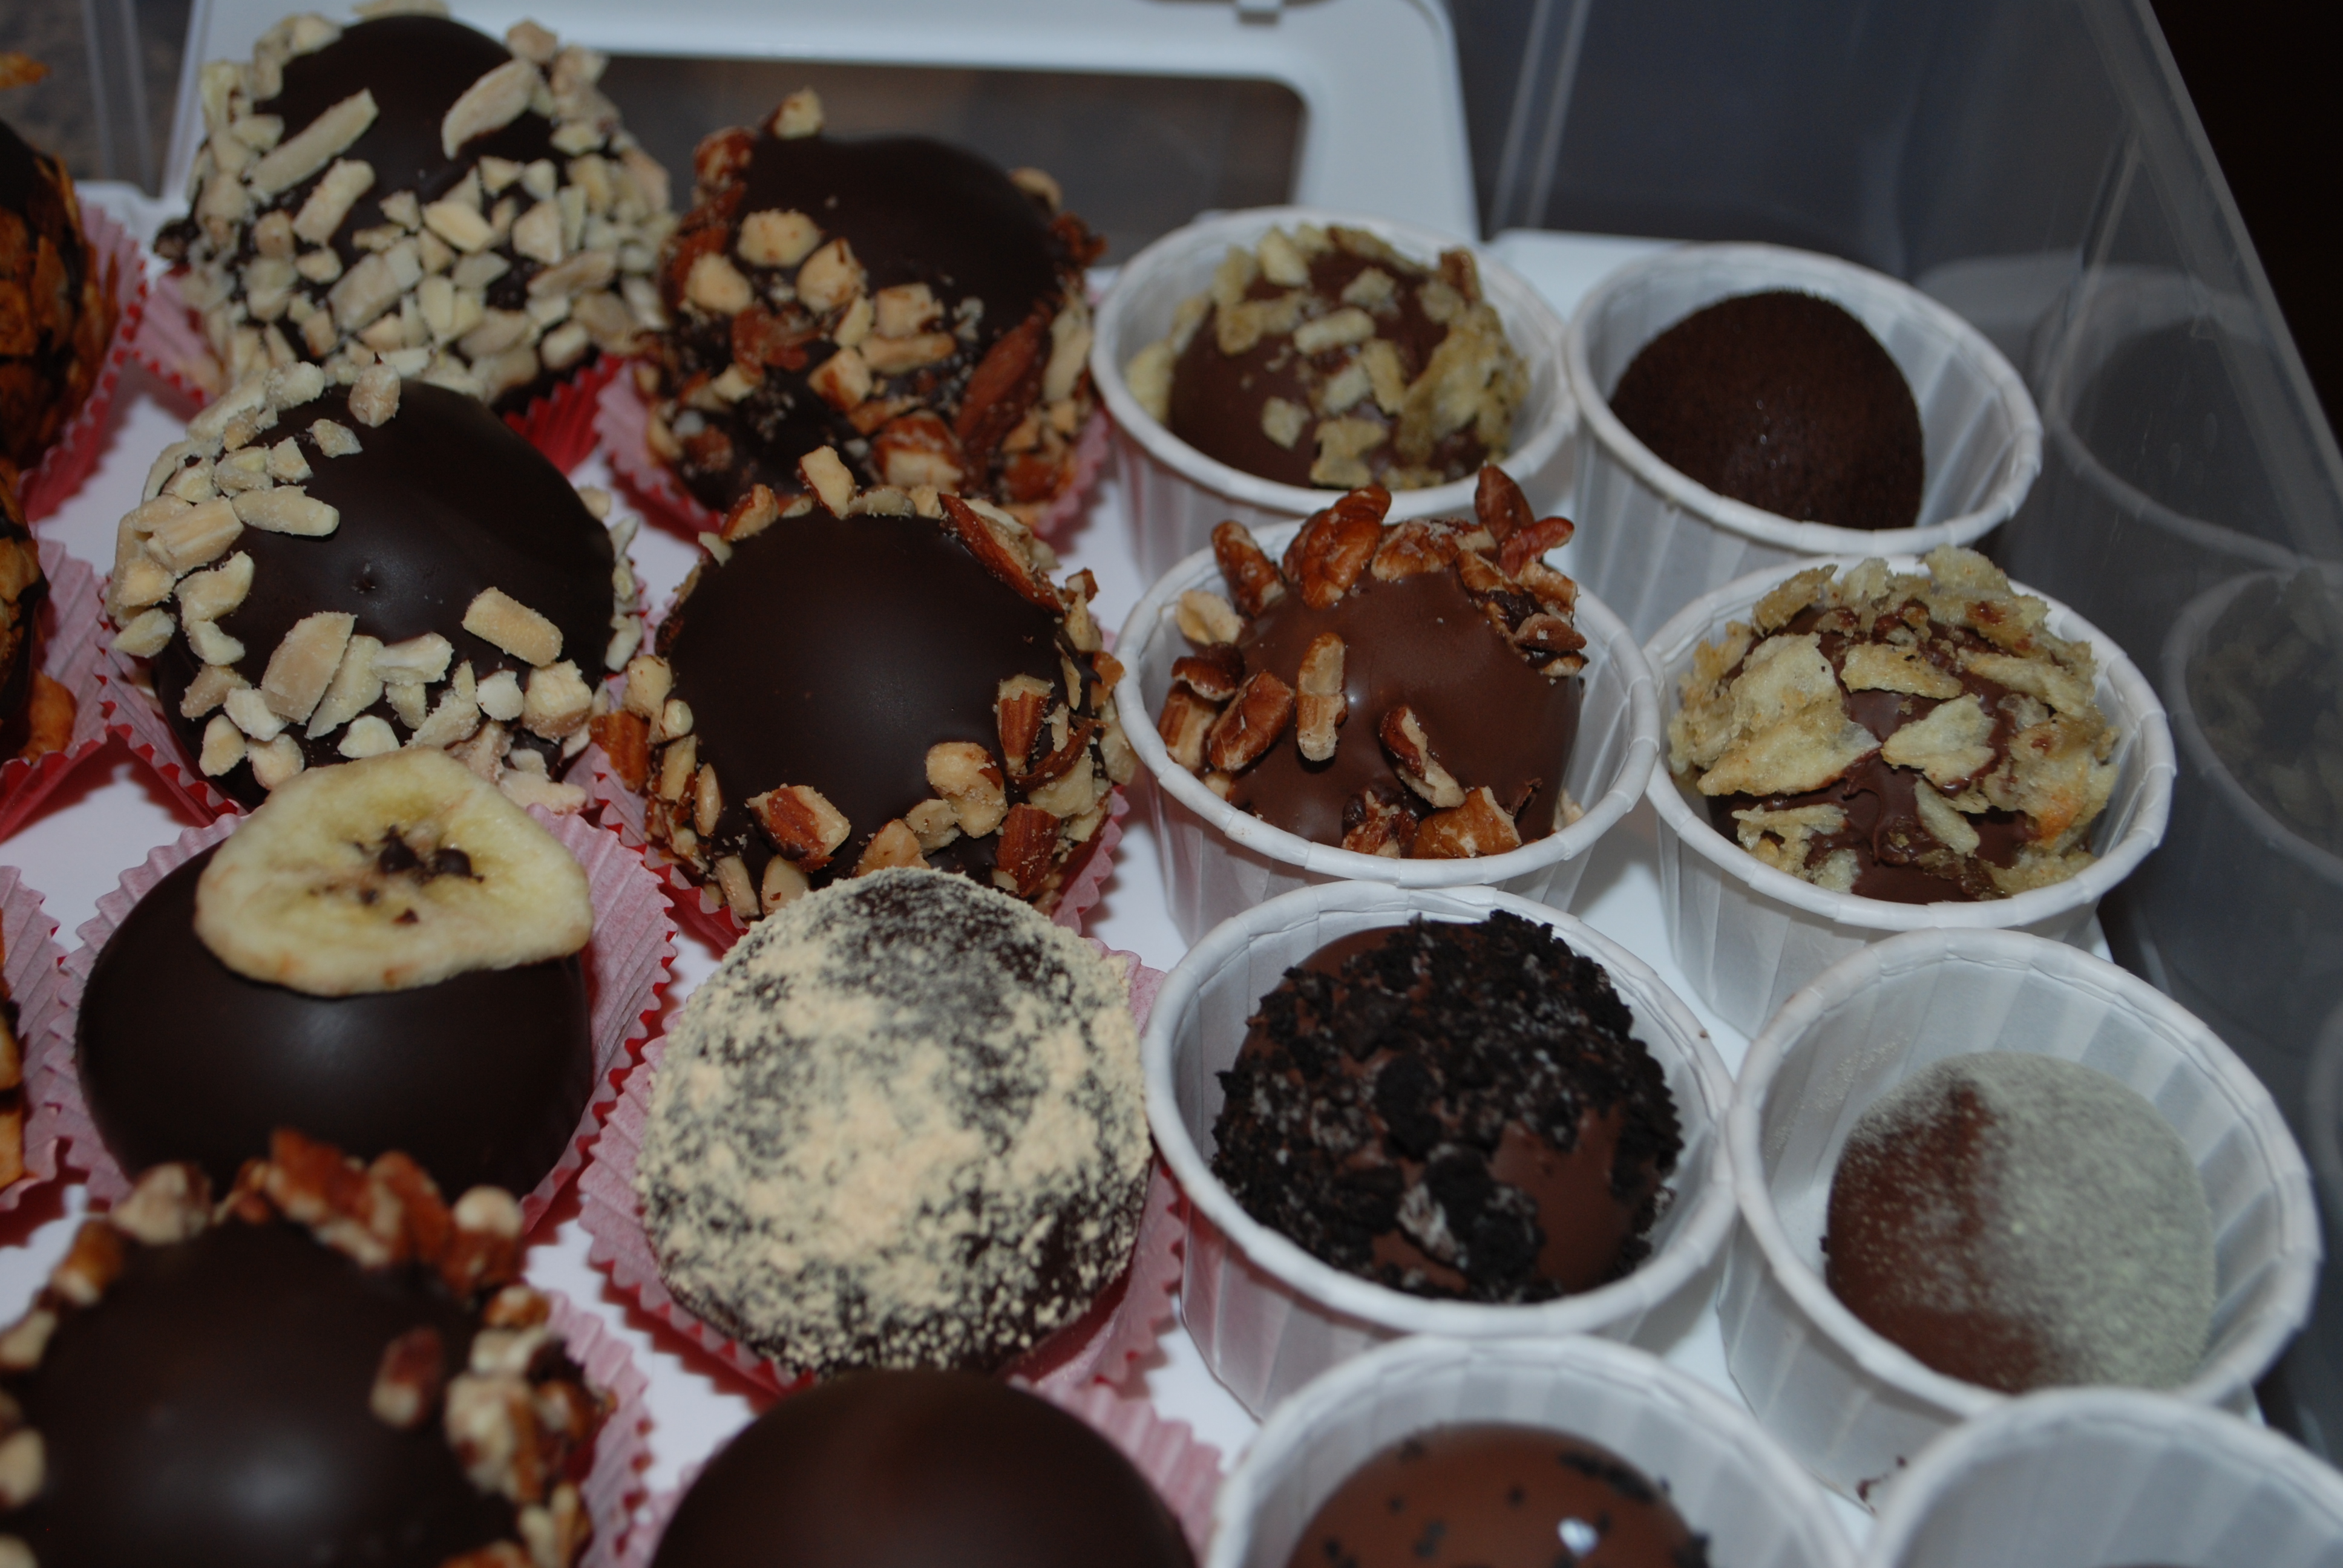
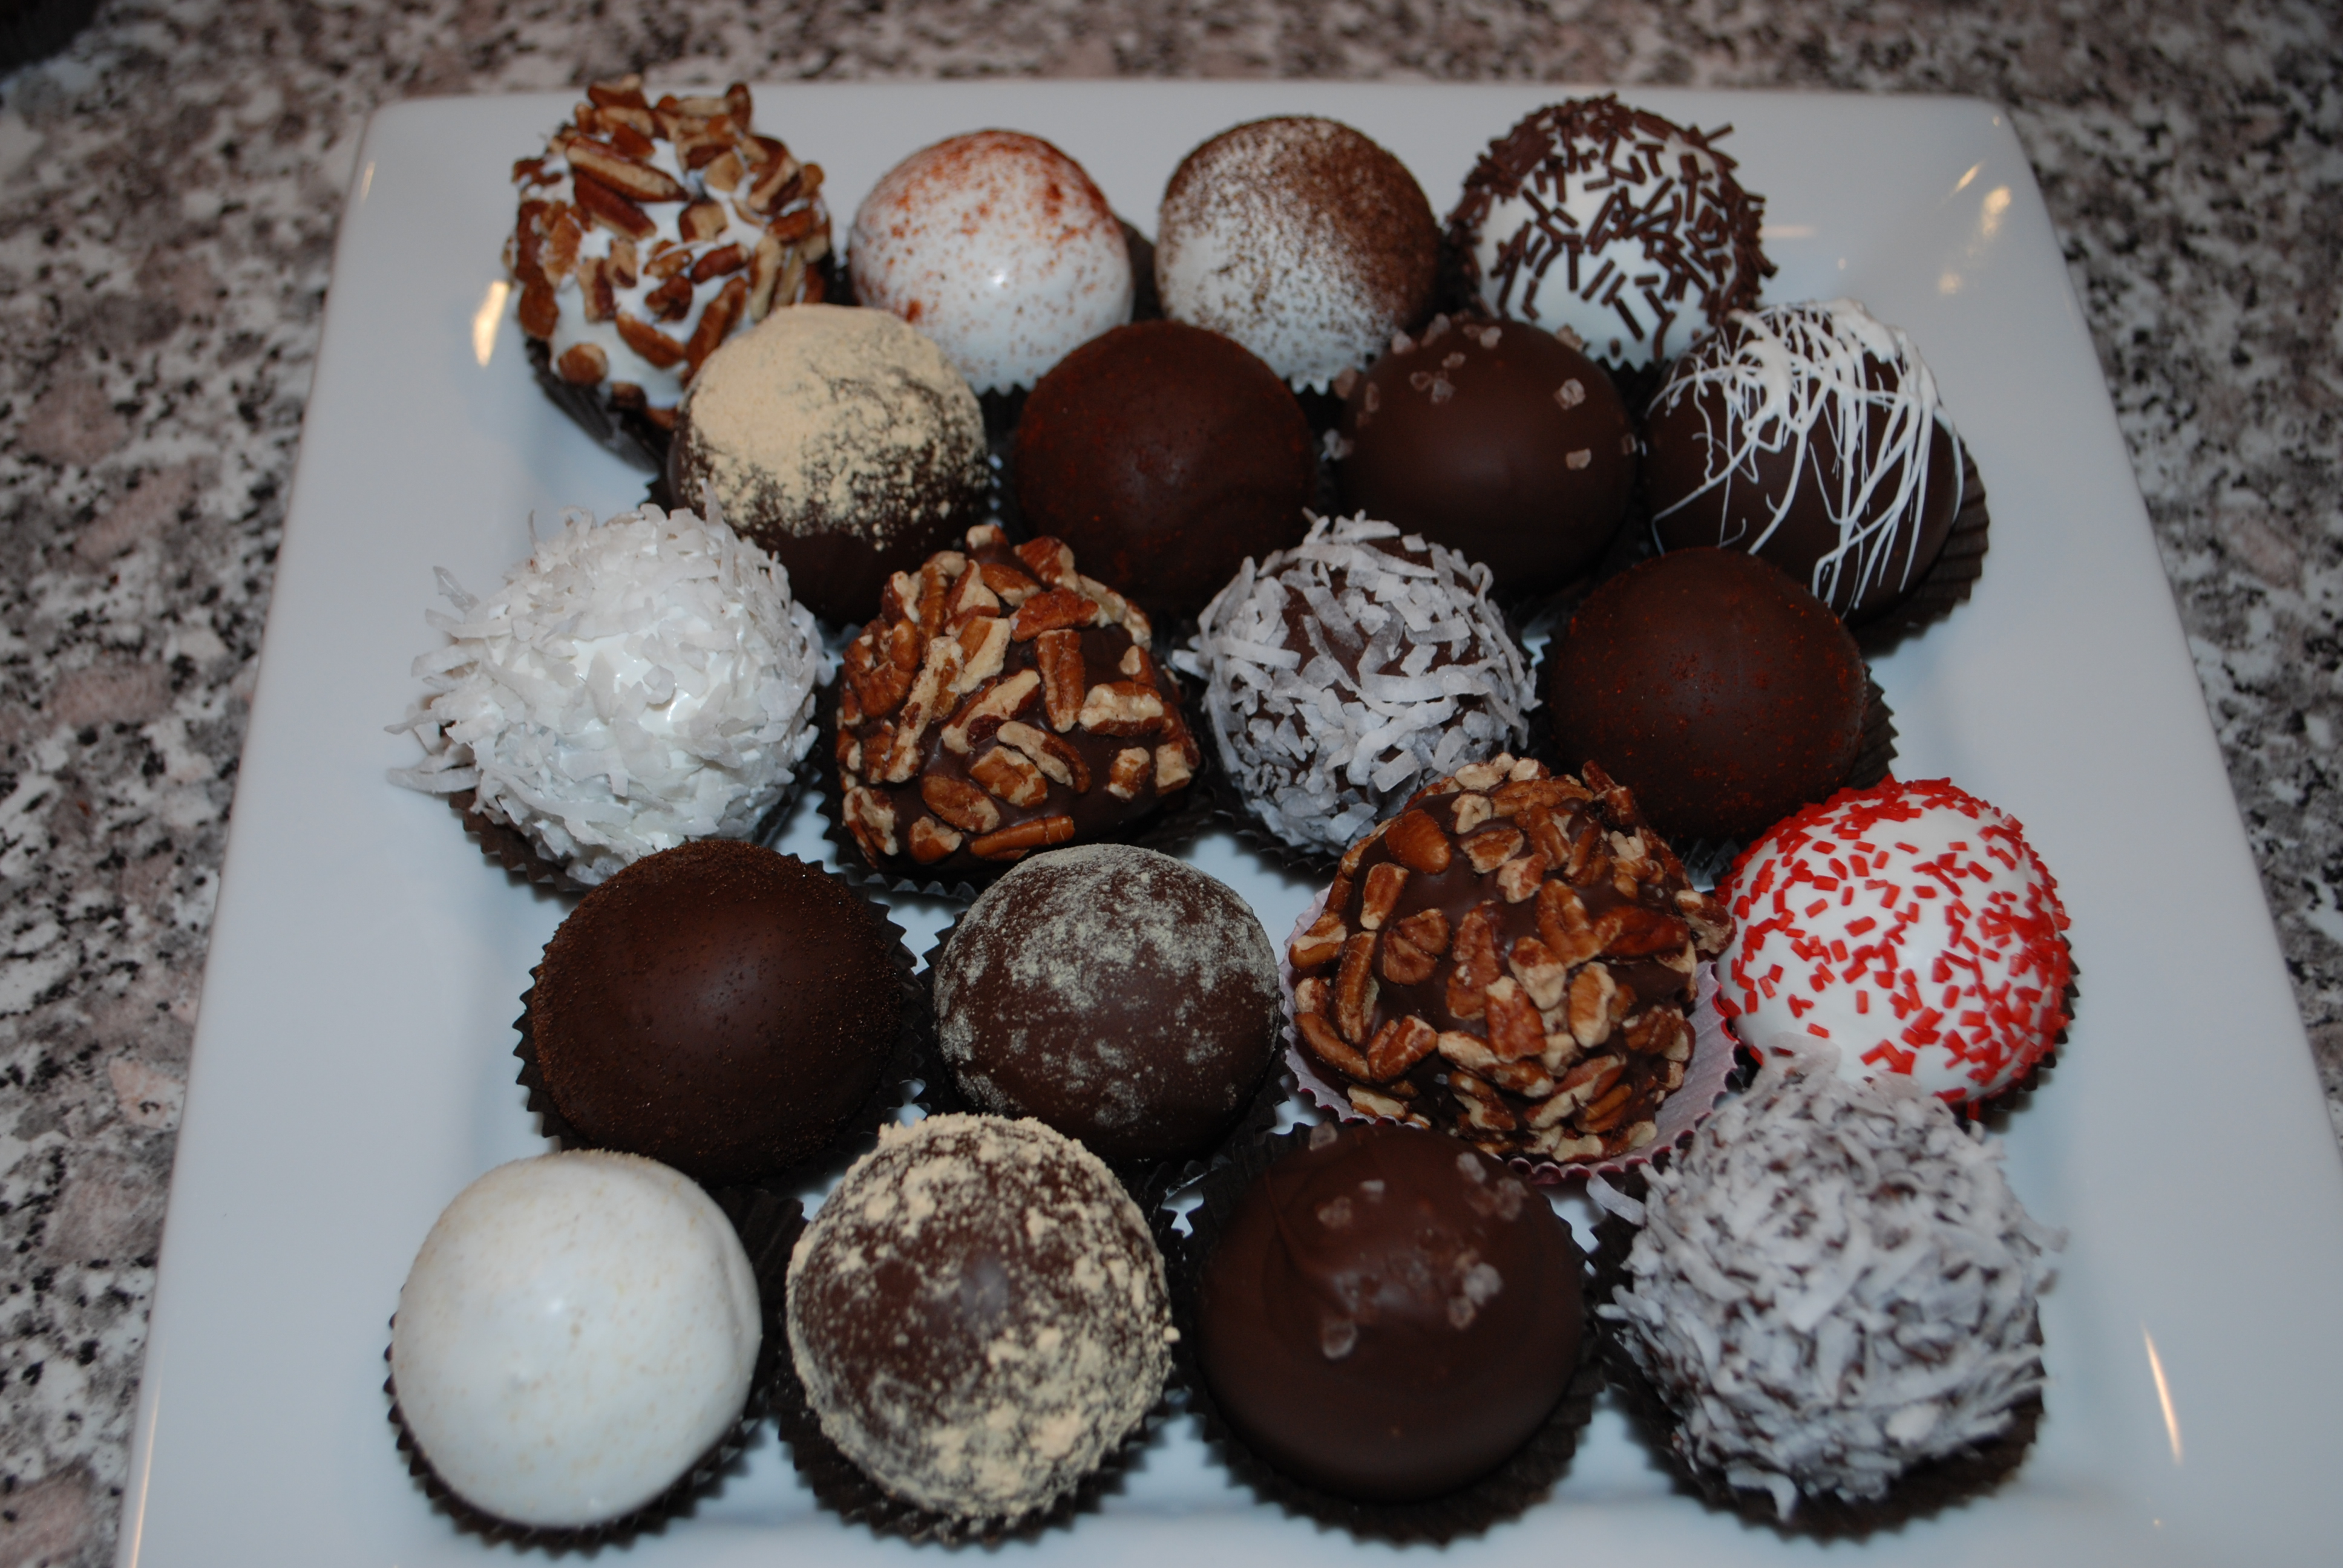
The finished products:

From left to right
Top Row: (all dipped in vanilla candy): Garnished with pecans, chipotle chili powder, espresso powder and chocolate jimmies
2nd row: (all dipped in chocolate candy): Garnished with PB2, chipotle chili powder, Hawaiian salt, and vanilla candy splashes
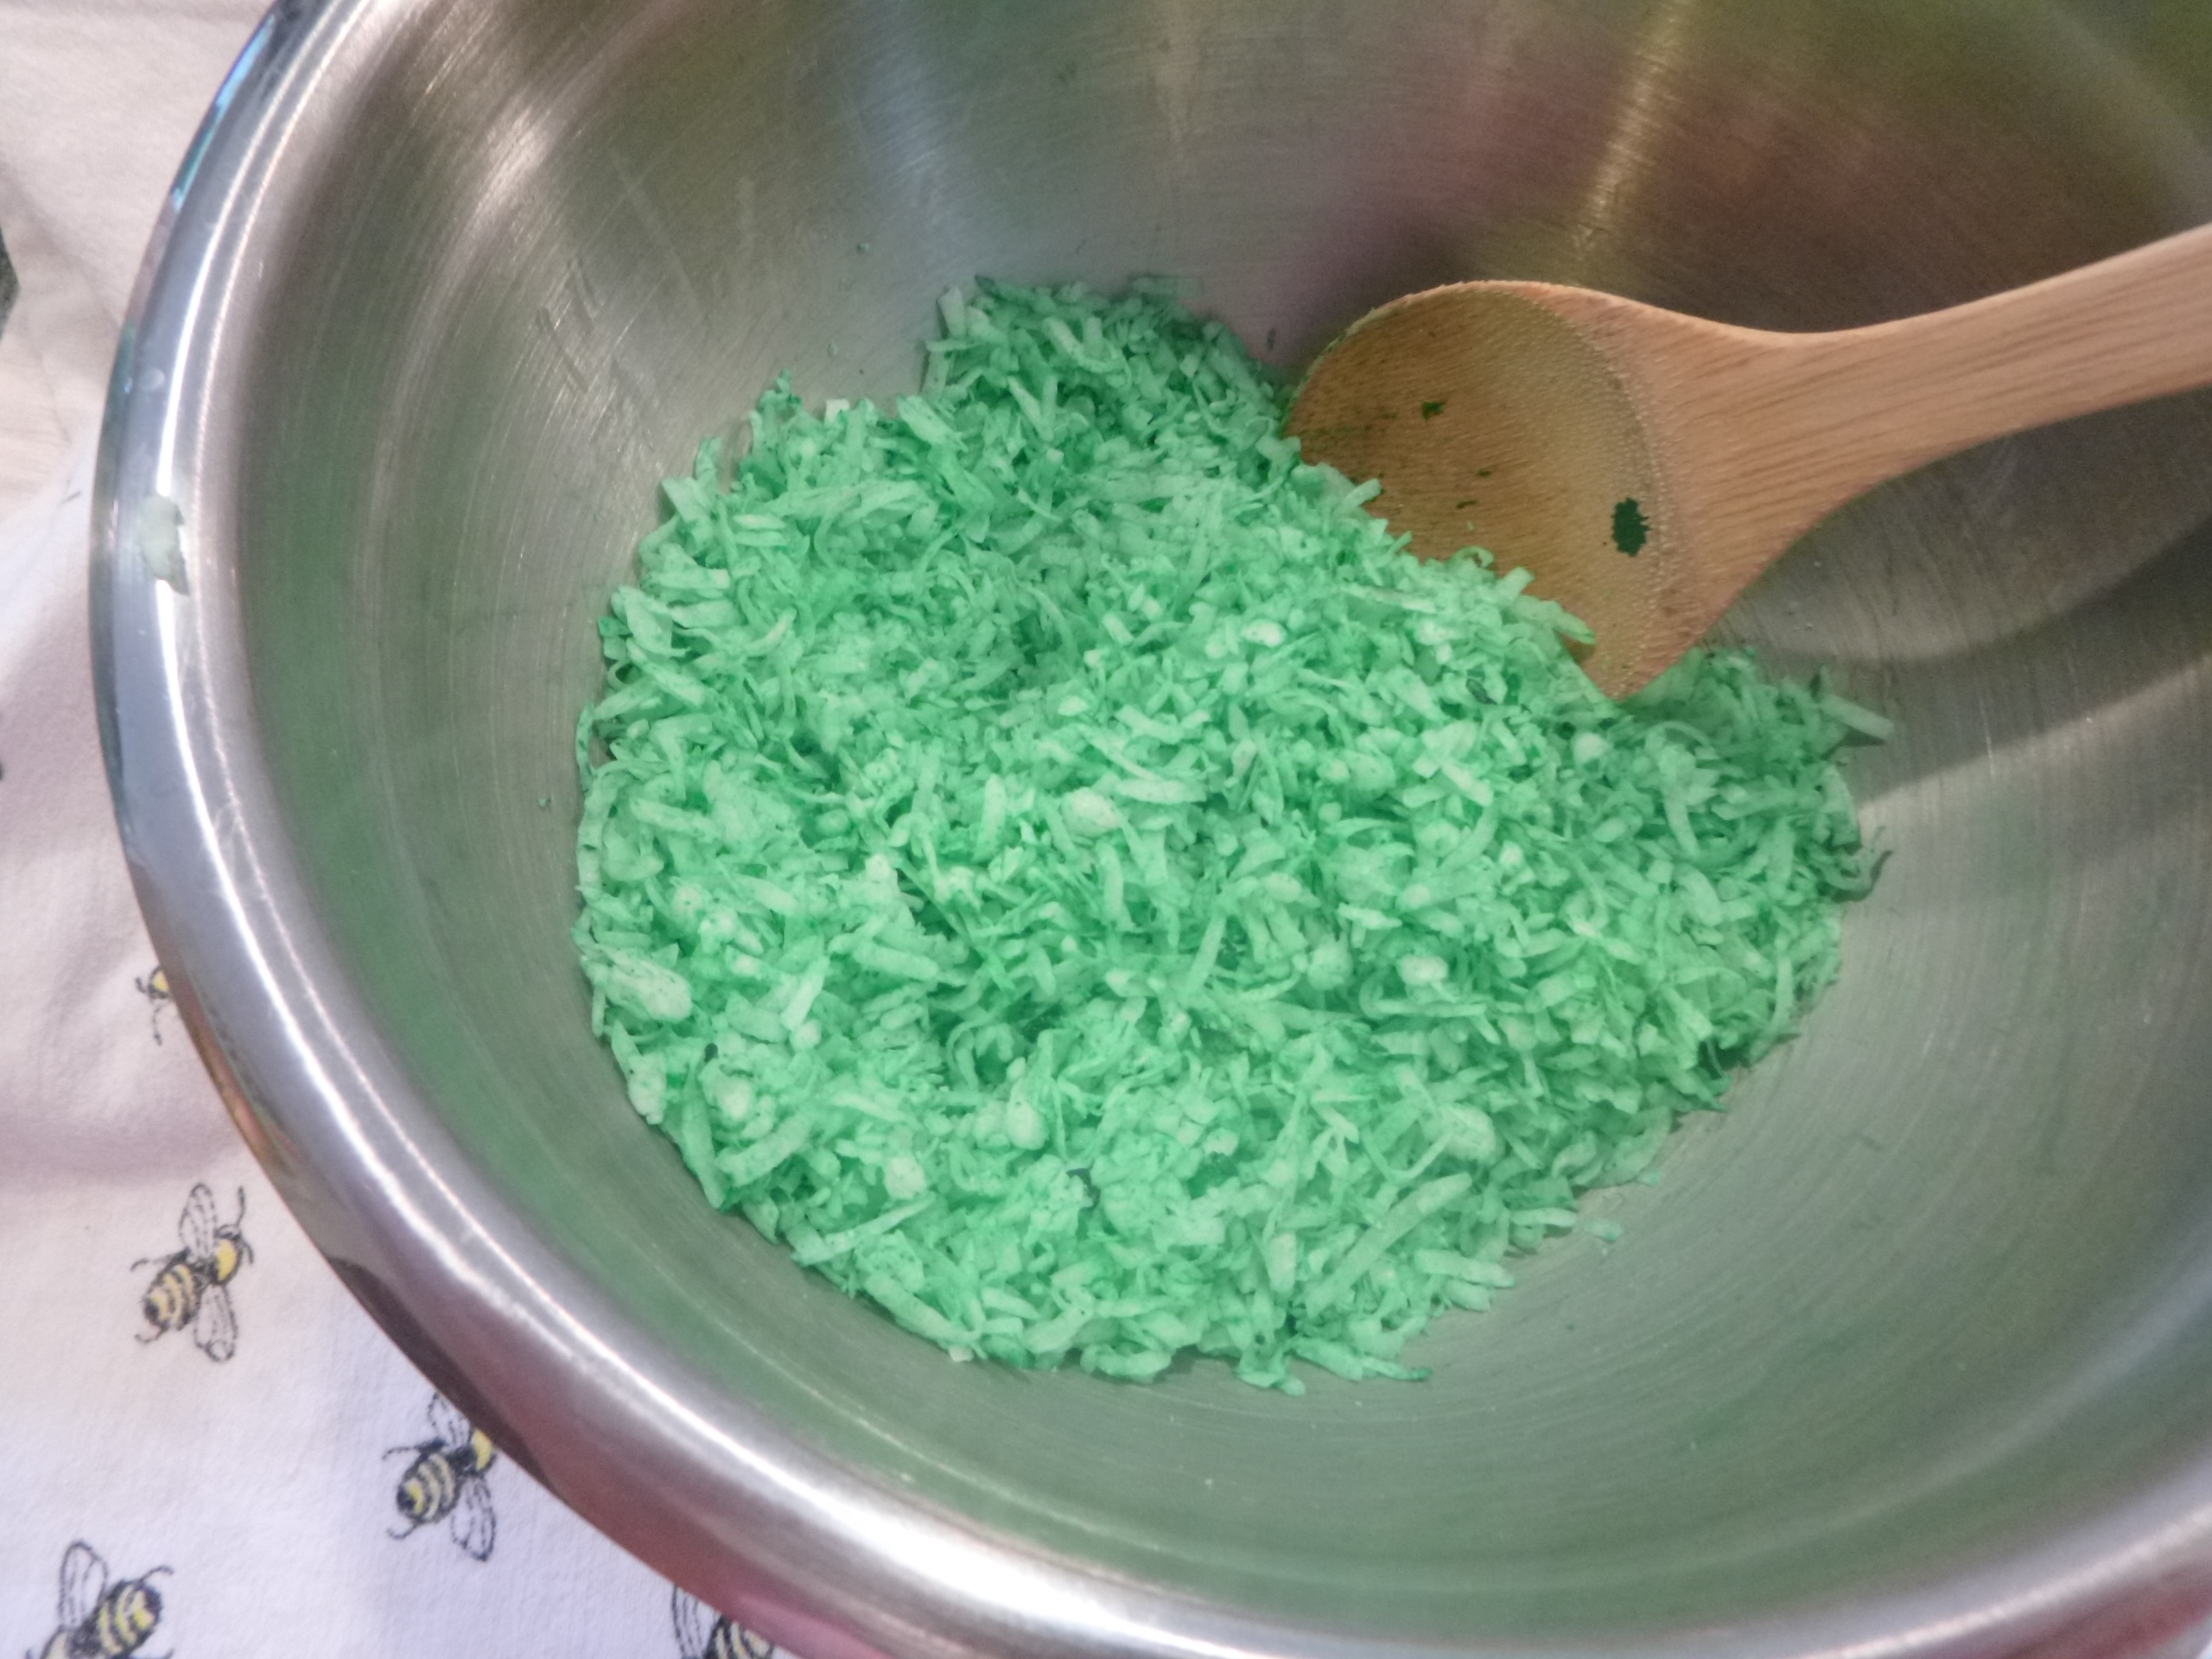
3rd row: Vanilla coconut, chocolate pecan, chocolate coconut and chocolate chipotle
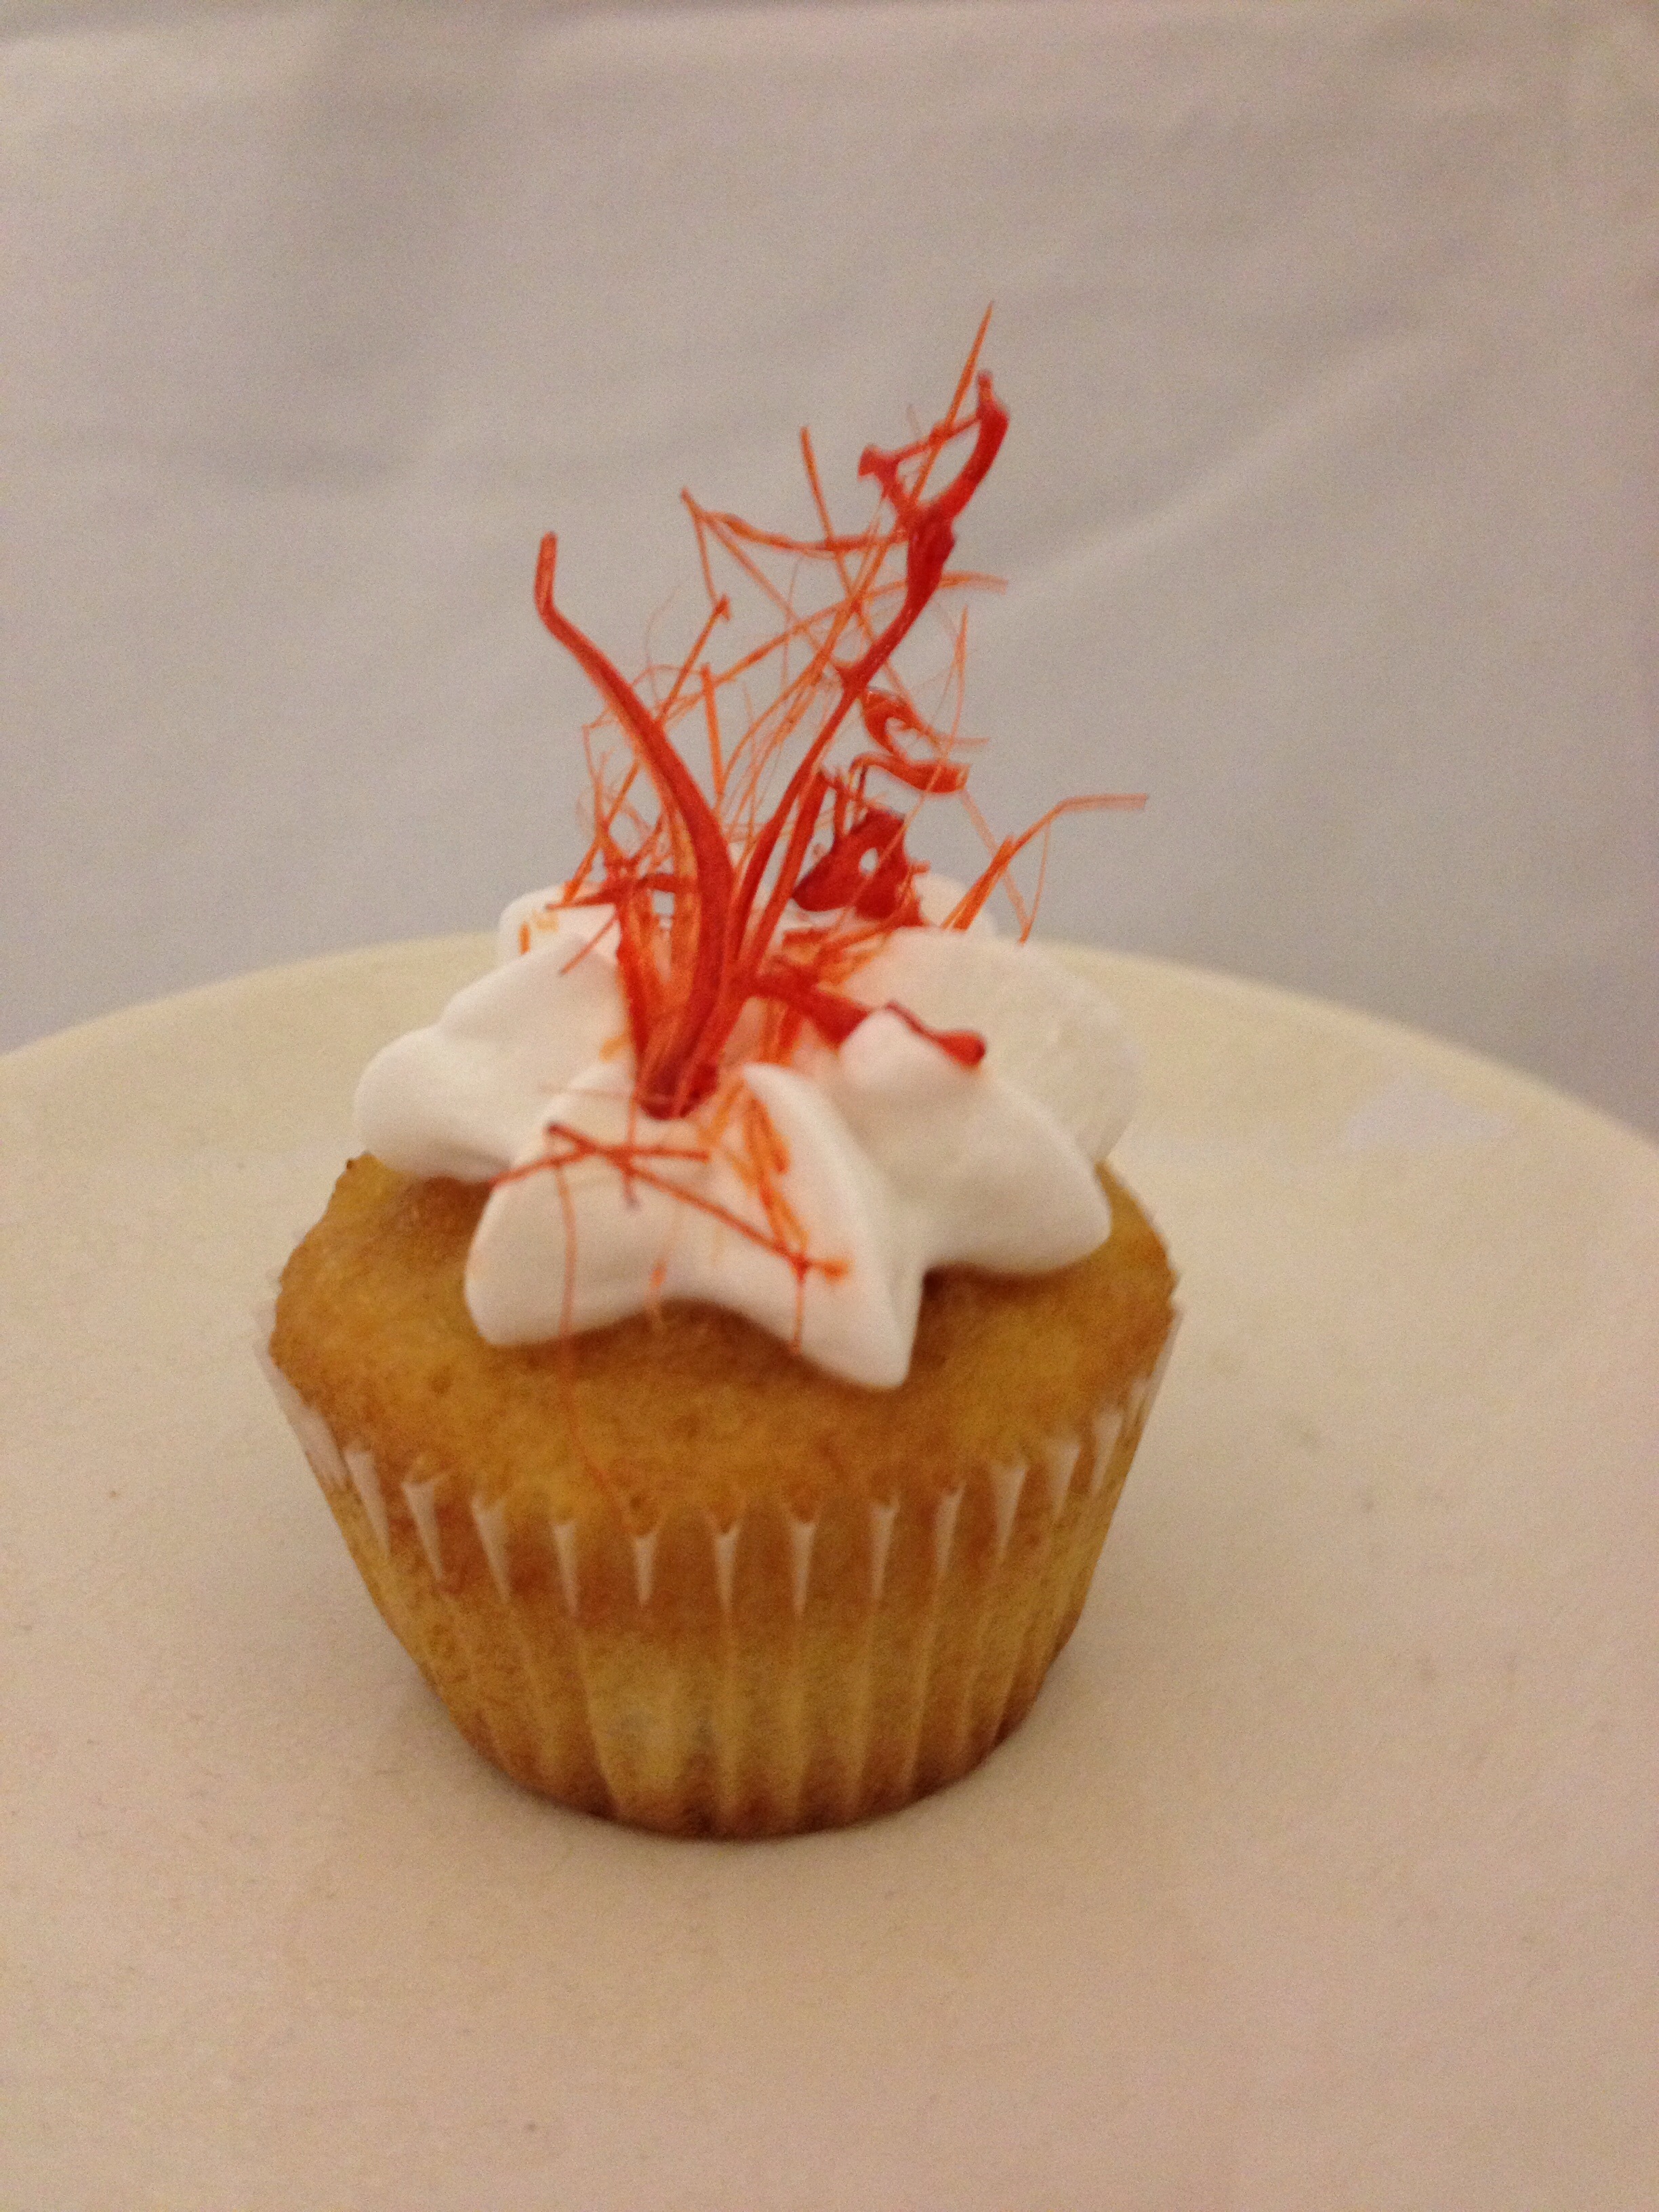
4th row: Chocolate espresso, chocolate wasabi, chocolate pecan, and vanilla with red sugar
5th row: vanilla dipped in orange ginger powder, chocolate with PB2, chocolate with Hawaiian salt and chocolate coconut.
These disappeared amazingly fast at work. The only fairly negative comment I received was that the wasabi needed more wasabi. The ones with chipotle were especially well received.
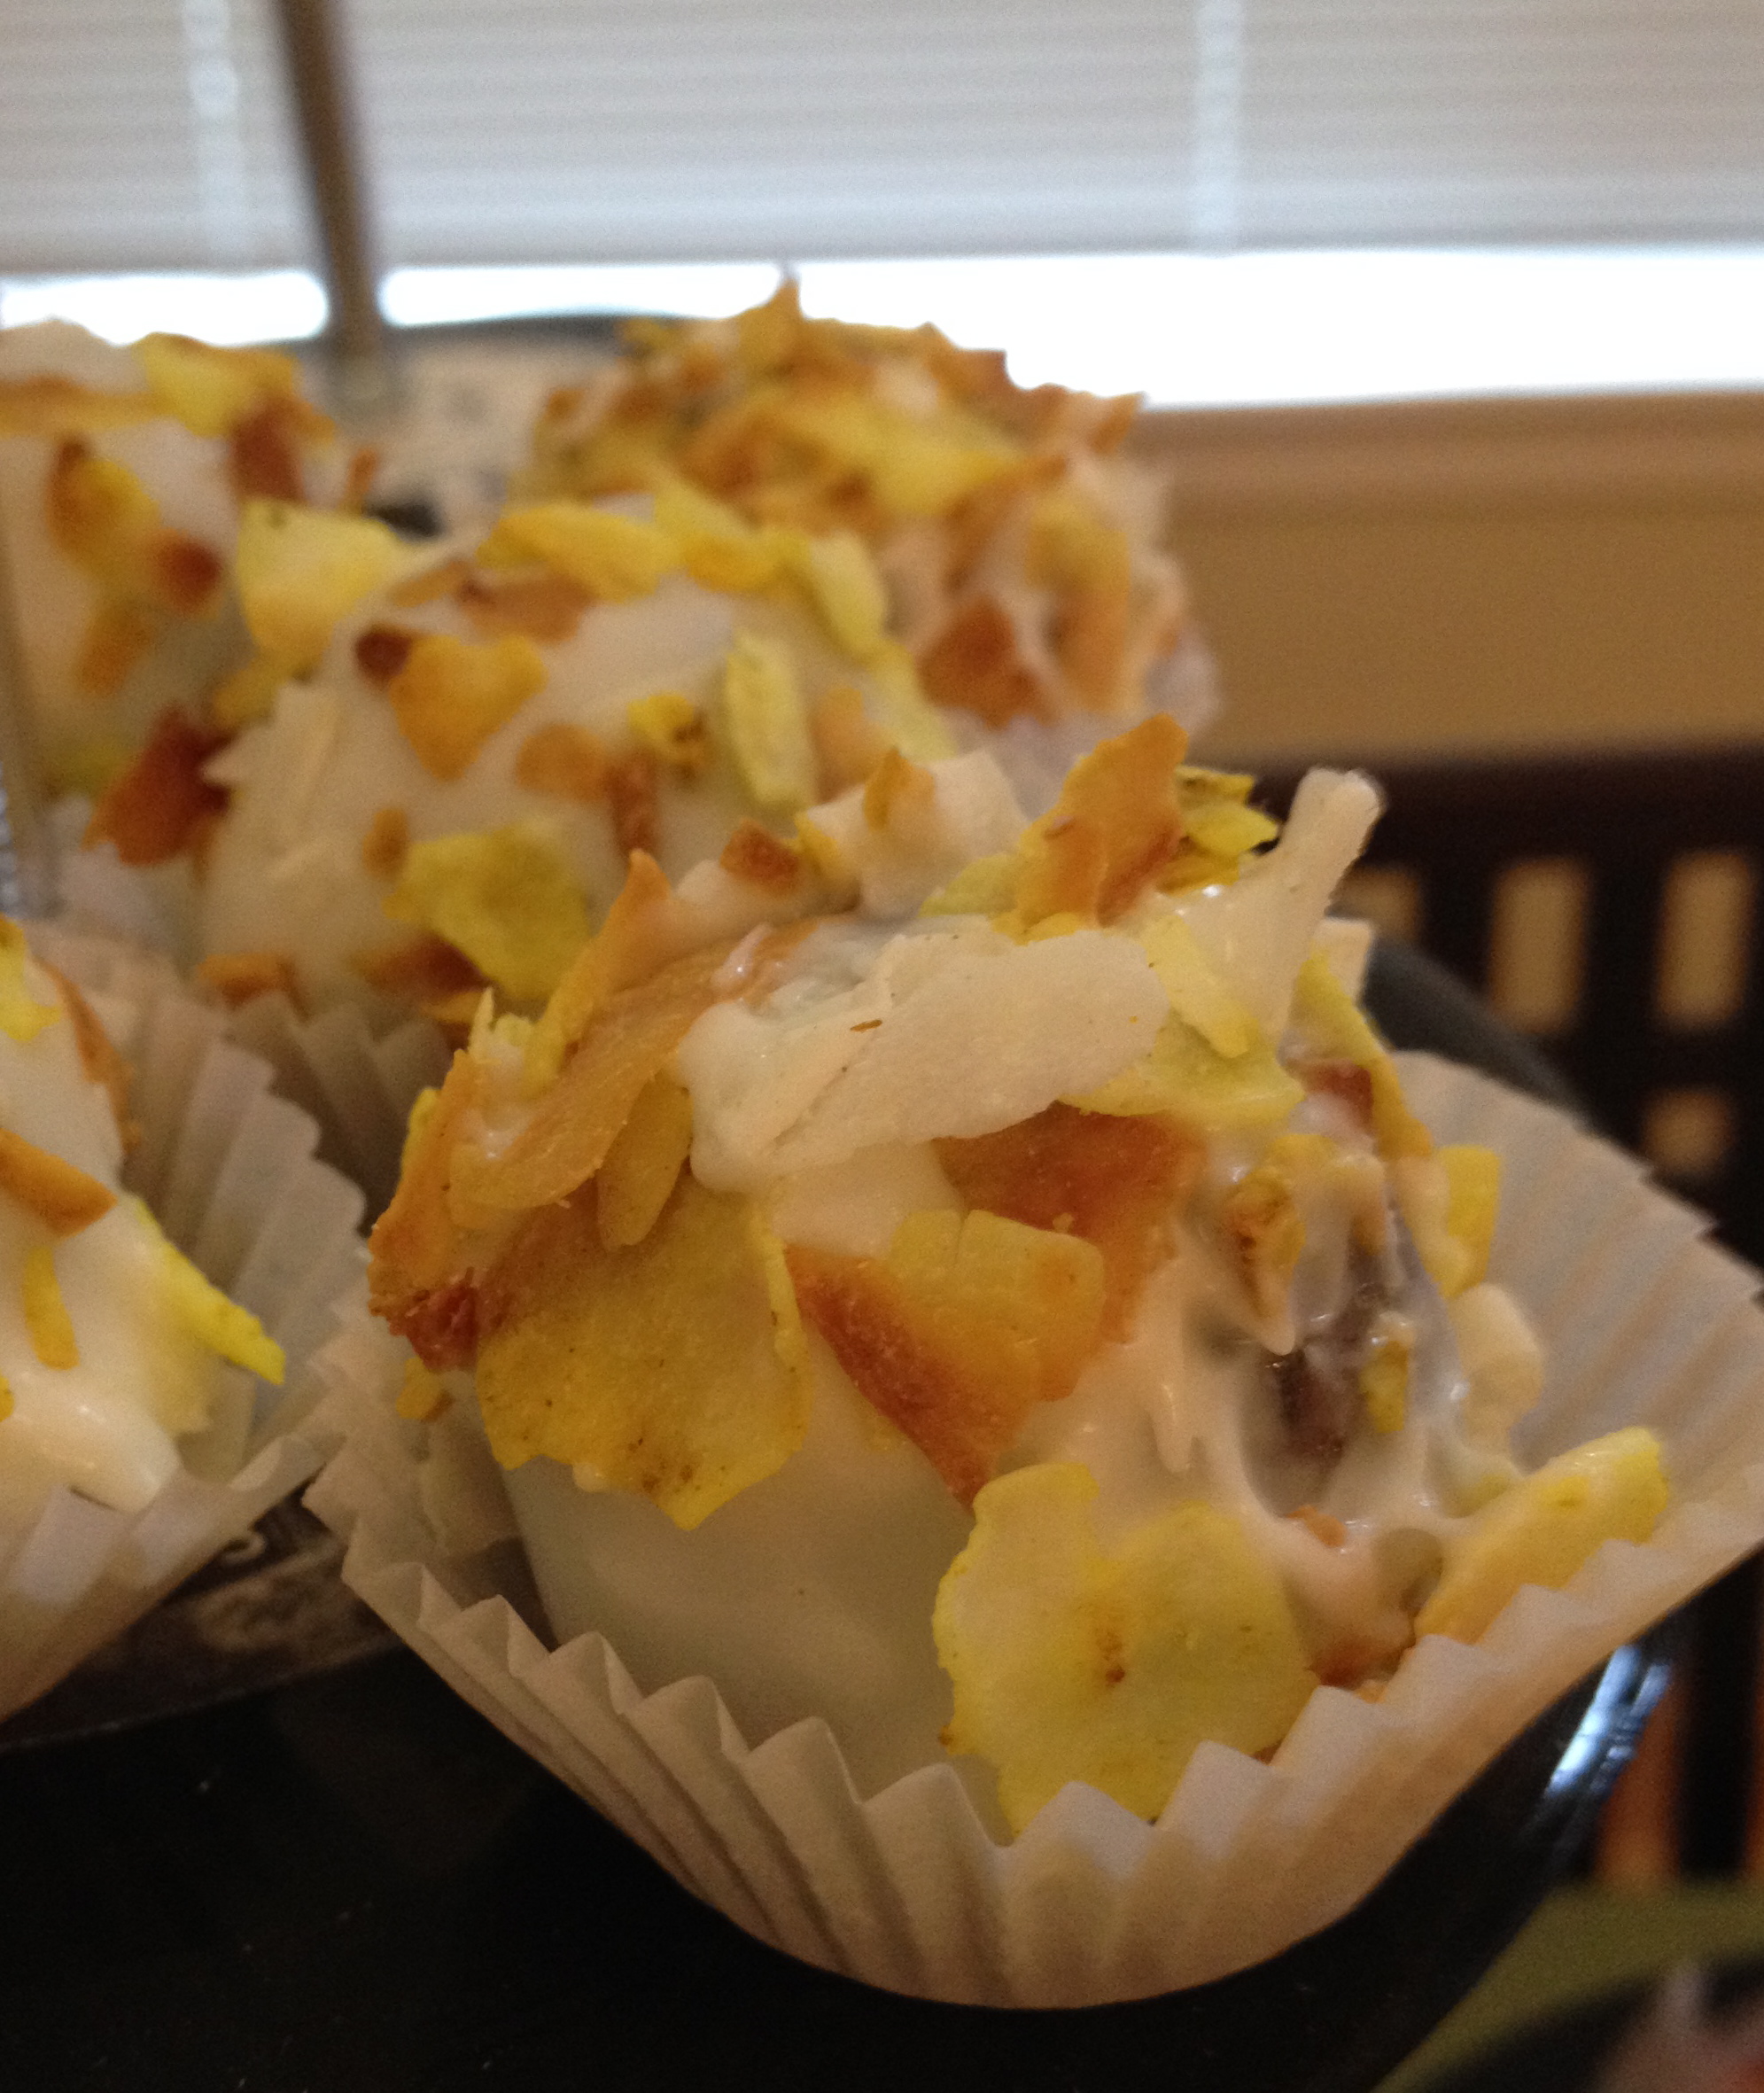
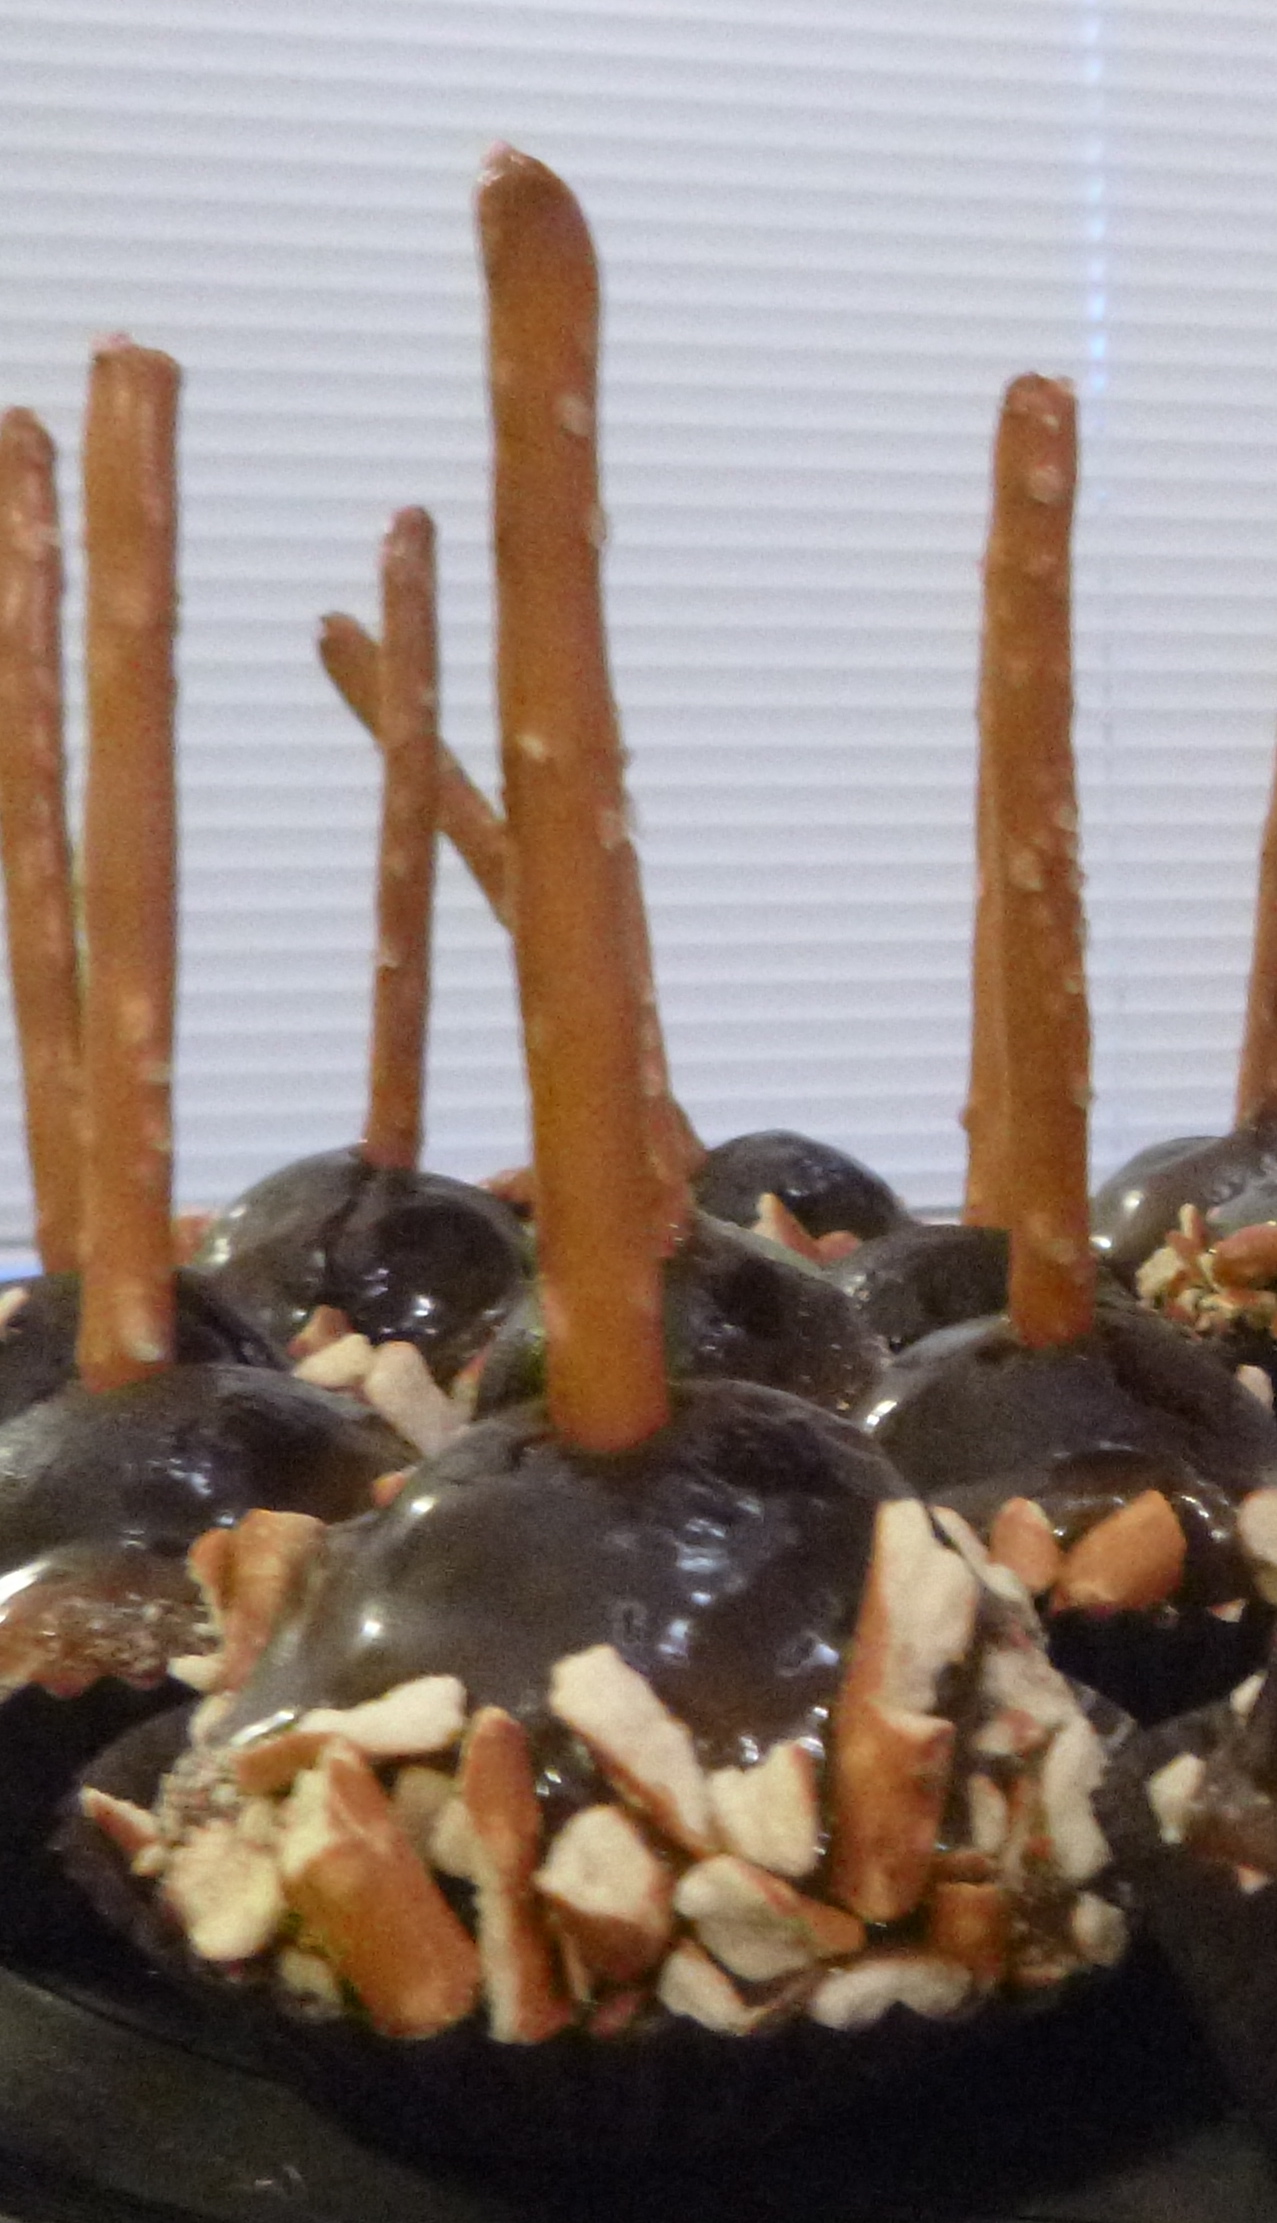
For Valentines Day, Mr Shuck used the remainders in the freezer to make treats for his staff. He used as toppings: crystallized ginger, espresso, crushed potato chips, crushed pretzels, crushed smoked almonds, and Oreo crumbs.
I’m definitely going to make these again! They are easier than cupcakes. Everything doesn’t have to be done on the same day since it doesn’t matter if the cake dries out since it’s being mixed in with ganache. These are easier to transport since I don’t have to worry about them tipping over in the car.
0.000000
0.000000